A Manufacturing Case Study
This is a case study for the process of moving from the design phase of a manufacturing project, through the prototyping and on to the small-scale production method known as resin casting.
If you read part 1 of the case study you know that I had Jamie Noguchi, designer at Morlock Entreprises, design a 3D model of the 2D character Process Cat. We worked together and arrived at a design that took into account all of our functional, aesthetic, and design-for-manufacture criteria. (If you didn’t? You can read that here.)
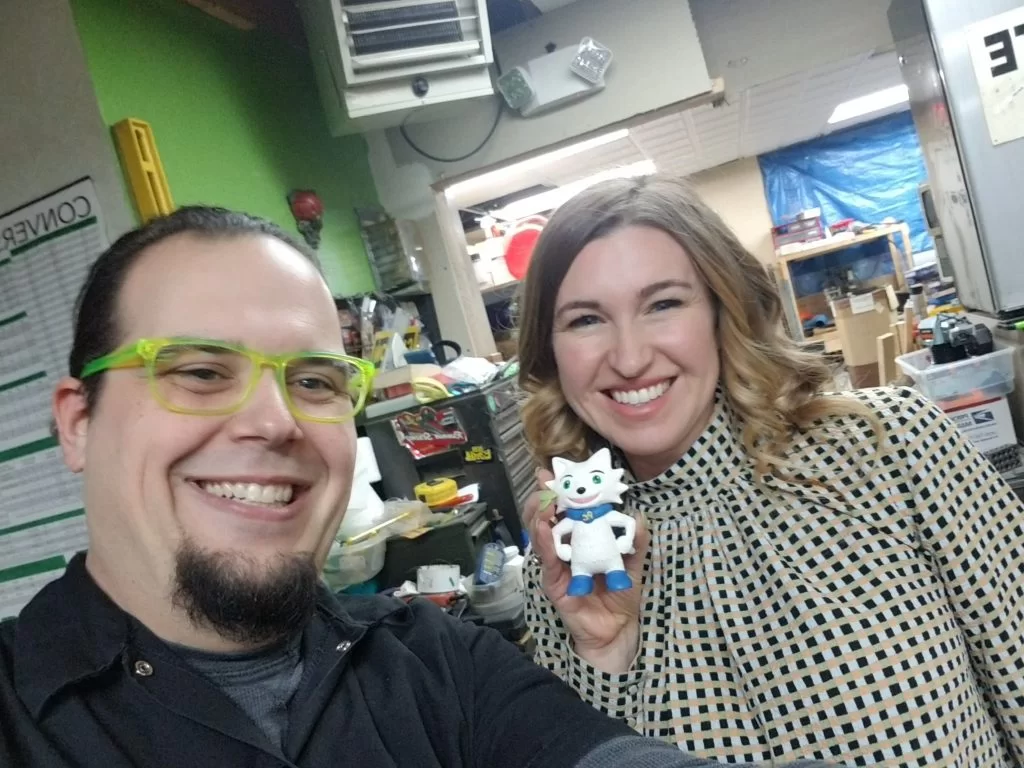
Now it was time to move from the 3D model to the first manufacturing technique we’d be using, Resin-Casting. Resin-Casting is a manufacturing technique that’s well-suited to small production runs. If you’re not familiar with it, you can read about it here. For this phase of the project, I worked with Morlock Entreprises’ owner and machinist, James Brown.
Take a look at how the magic happens!
Resin casting starts with 3D-printing the object to be resin-casted, in this case, the Process Cat Desk Buddy!
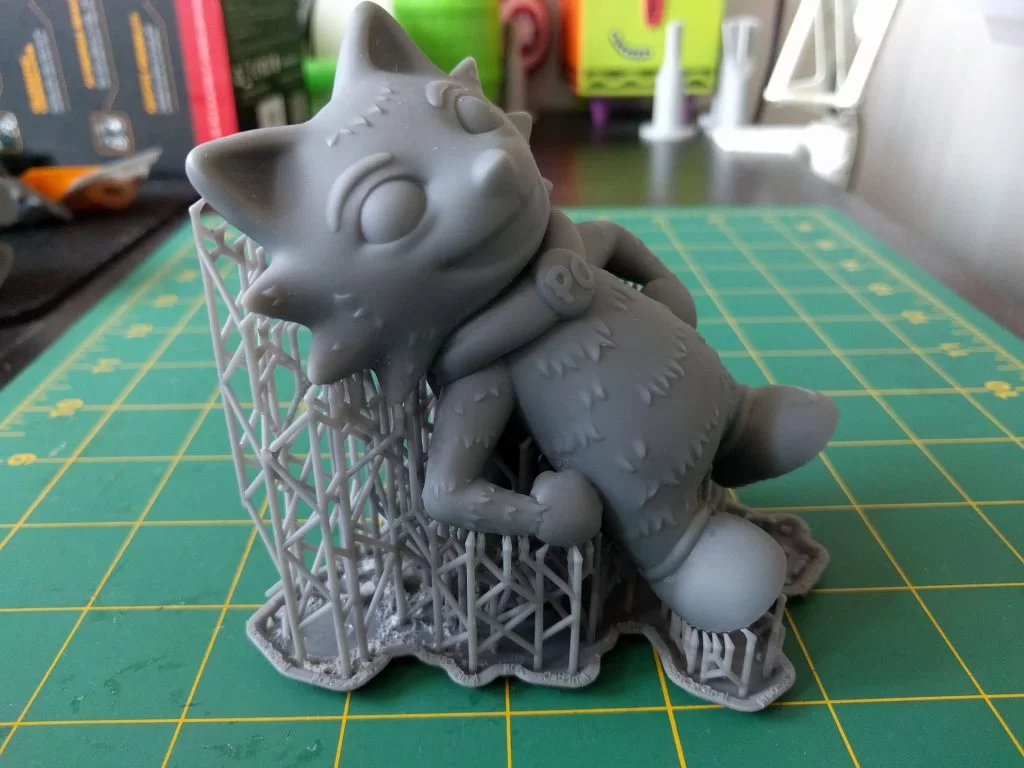
A textbook will tell you that the next step in resin casting is to make a silicone mold of the item to be cast. (In this case, the Desk Buddy.) But in this project, there was an intermediate step, which was to break Process Cat down into component parts.
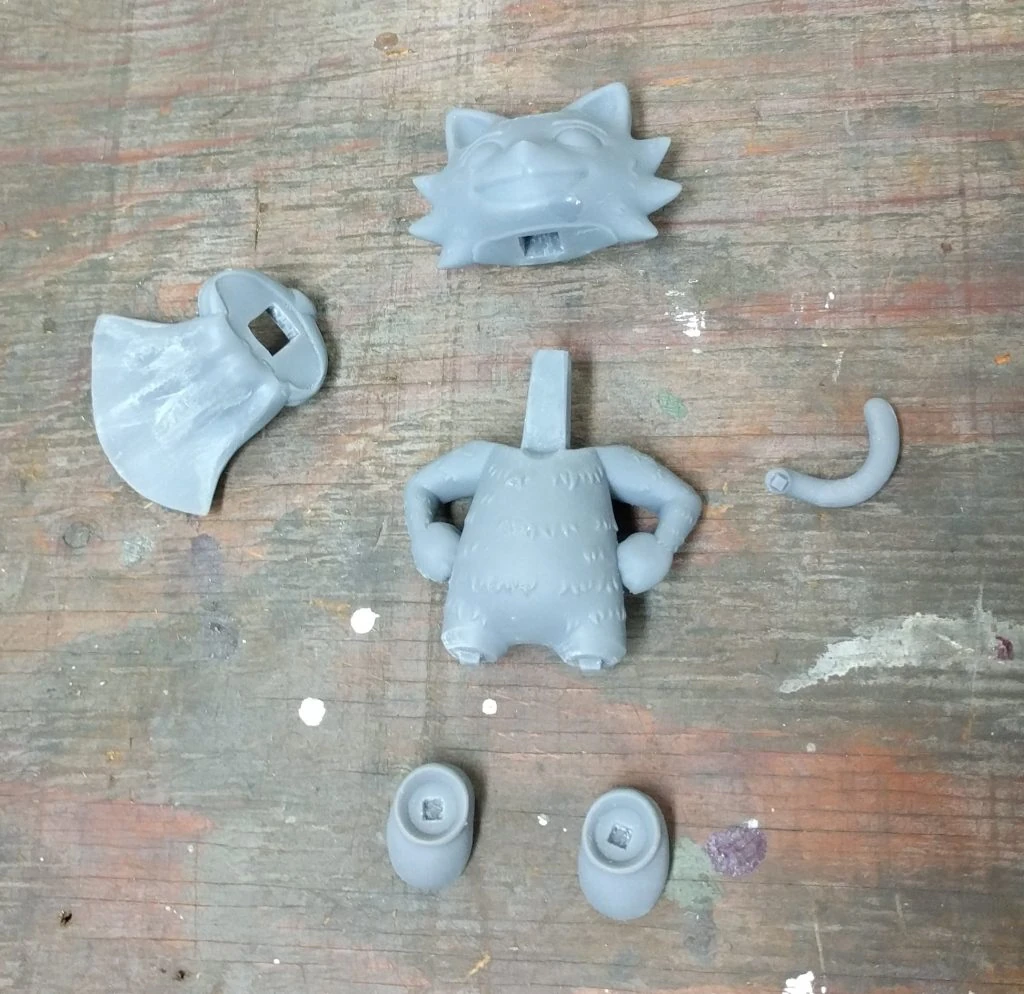
The parts in the image above are 3D-Printed. Also notice that the parts are keyed, meaning that there are pegs and holes that allow the parts to fit together.
Making the molds for resin casting
Once these parts had been optimized to fit together well and form a Desk Buddy with a good center of balance, it was time to make the molds. Jim made a silicone mold of each part. To understand the silicone mold-making process, it’s easiest to watch a quick video such as this one.
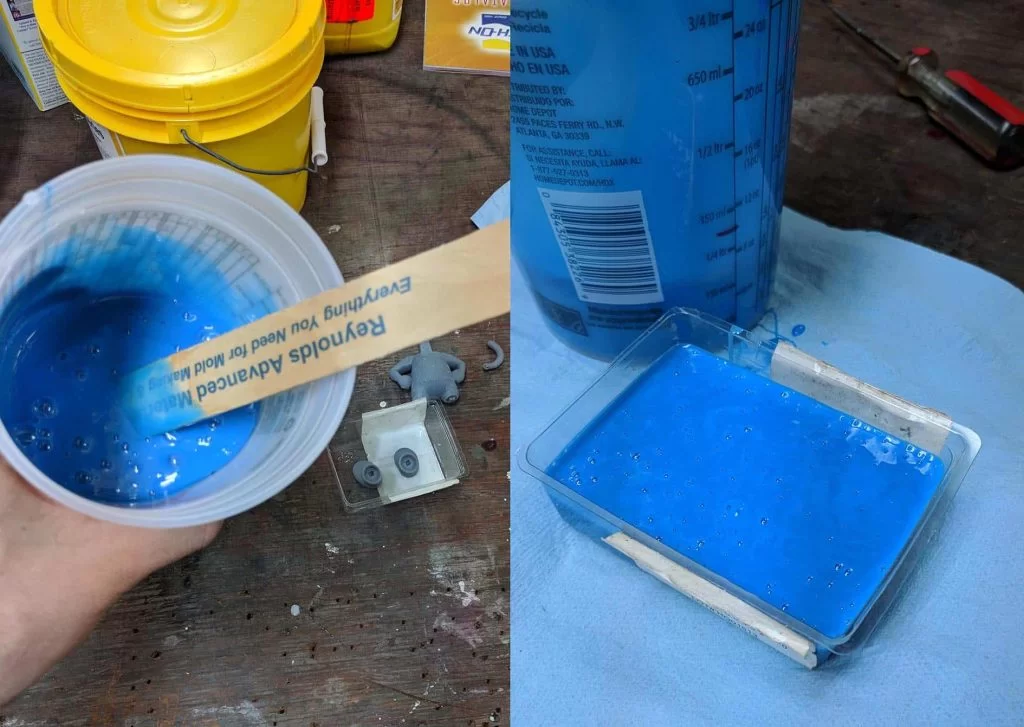
So that’s how the Process Cat Desk Buddy went from 3D model to molds ready for resin-casting. Stay tuned for the next installment of this manufacturing case study, when we’ll talk about colors and other finishing touches!

